How to Install WordPress Manually on Hostgator
Hostgator Features:
Hostgator is the most popular hosting provider services and largest privately owned company in the world. It has now more than 8 million domains and 12,000 servers under management. Over 500 companies, including 200 countries and more than 400,000 satisfied customers depend on Hostgator for their business requirements. The resons why should you go with Hostgator are as follows:
• Hostgator has a world class SoftLayer datacenter, which range from 22,000 to over 78,000 square feet. The place is having high class power supply system and uses HVAC technology. It will ensure your data safety.
• A dedicated team for software monitoring to guarantee that all servers are up 24×7.
• Unlimited features at very low cost. Just on the amount of $3.96/month, they offer unlimited storage, unlimited FTP accounts, unlimited Email account, 99.9% uptime, and unlimited transfer bandwidth. If you are unsatisfied with any feature then you can claim 45 days money back guarantee.
• Free site builder tools which includes 52 website building scripts, over 4,500 free templates, and free shopping cart software.
• 24 hour customer support to sort out all queries in timely manner, live chat system, countless videos tutorials and forum questions are already available on the official website.
Installing WordPress:
The complete process can be divided into following two steps:
1. Generating Database details
2. Installing WordPress manually
1. Generating Database details:
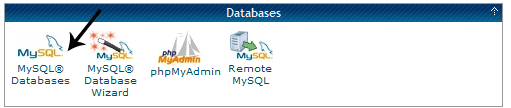
• Login your cPanel and from Database block and click on MySQL Databases.
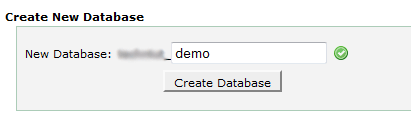
• Create a new database and provide a name to it. ‘demo’ is given in the following example.
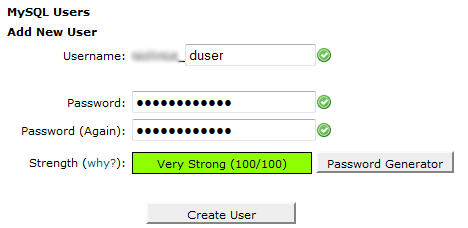
• Create a new database user. In MySQL user, select a new database user and provide the name and password for this. Remember this entry as it will be used again in WordPress Installation.
Set up your WordPress site with HostGator now – click here to set up your WordPress site or blog with Host Gator
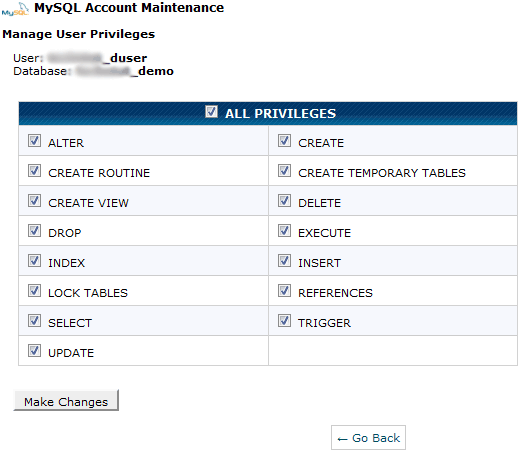
• Now provide this user privileges. You will be redirected to a window and select “All Privileges”
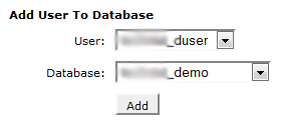
• Now select this user to manage your already created Database. Go to “Add user to Database”, choose from the database name and user and the click on Add.
This will complete the database creation. Now you need to add a domain if you have not created yet.
Uploading WordPress Files:
Now you can visit your “File Manager” section of your domain.

If you don’t have WordPress files then you can simply download it from official WordPress website and only in .zip format. Save it in your PC.
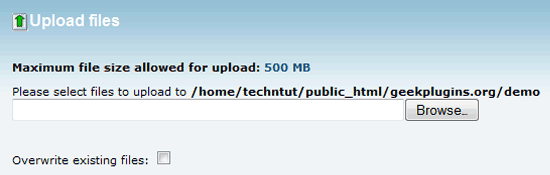
Now on File Manager window click on Upload Button. It will open a new Tab and select your WordPress zip file to upload from here.
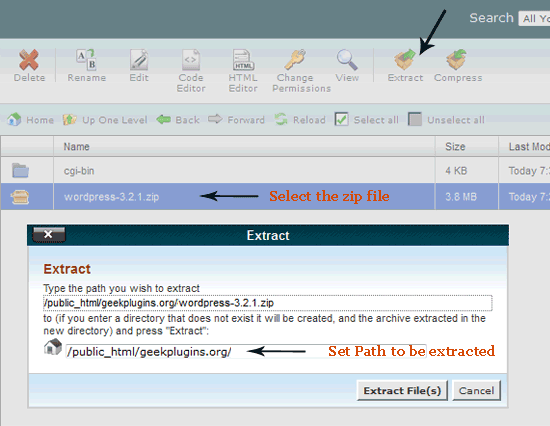
Once file has been completed then extract the zip file by selecting the file and clicking on Extract from the top panel. It will then ask you to select the path where files are to be extracted. Don’t make any changes and click on Extract Files.
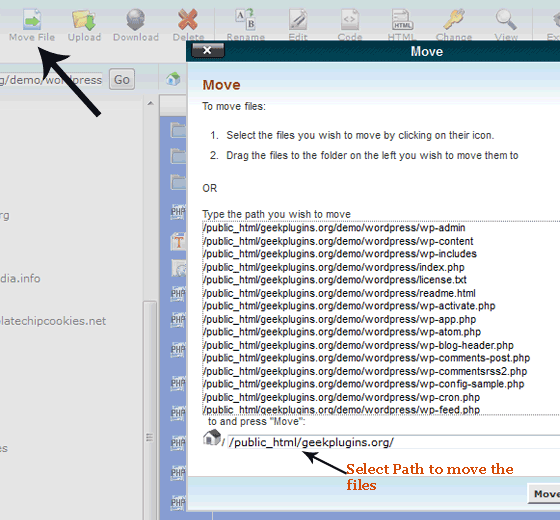
After the process complete, a folder might be created with the name wordpress. Move this folder to the main domain folder. Open the wordpress folder and then click on Select All then click on move. A pop will appear then chose the main domain path and click on Move Files.
It will move all the wordpress files to main domain so that you can install the WordPress on main domain. After that you can delete the previous wordpress folder and make it empty.
Installing WordPress manually:
• After completing the above step, you have uploaded the required thing to install WordPress. Now you need to create a config file. This can be done in two ways: either edit the wp-config.php file in WordPress or simply type your hosting URL and it will ask to “Create a Configuration File.” (Refer the image below)
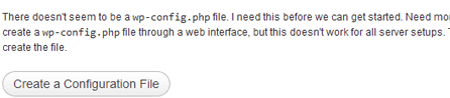
• Fill out the information regarding your database you just created like Database name, Database username and Database password. Click on Submit after completion.
If all the information is correct then you will be prompt to “Run the Install” message. Click on the message and provide the login information for your WordPress Dashboard. This will complete the WordPress Installation on Hostgator.

Set up your WordPress site with HostGator now – click here to set up your WordPress site or blog with Host Gator


